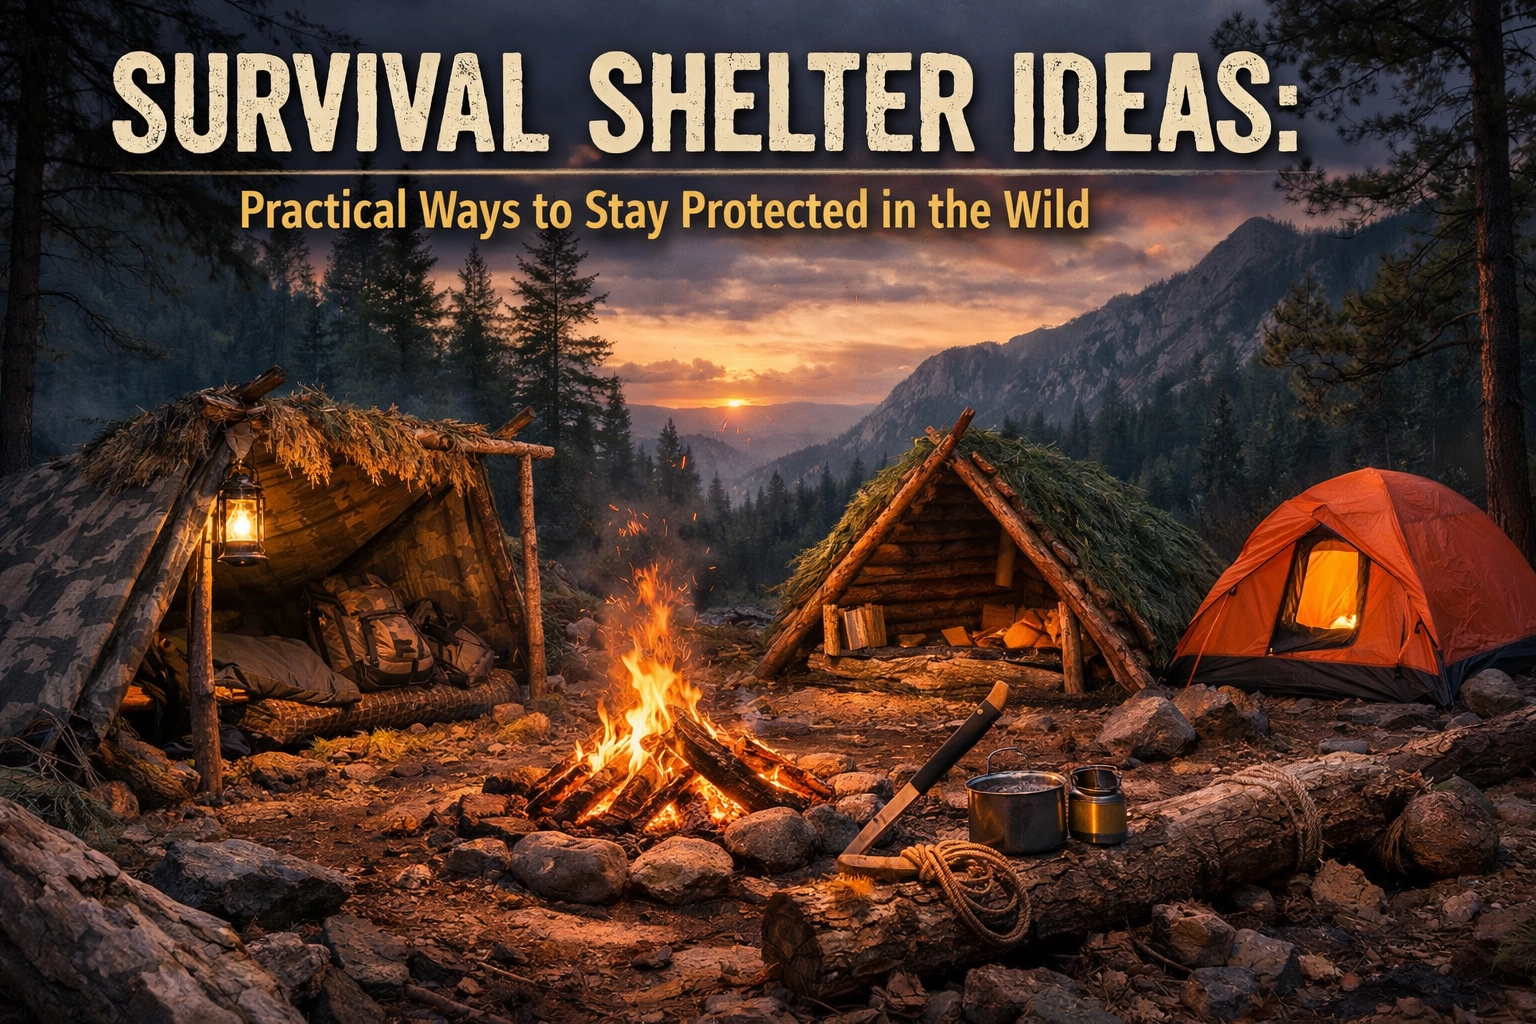
Survival Shelter Ideas: Practical Ways to Stay Protected in the Wild
You're halfway through a long trek across the moors when the horizon begins to bruise. Within minutes, that light drizzle matures into a relentless, bone-chilling downpour. The wind picks up, and you realise that your waterproof jacket, while decent, isn't going to keep you warm enough if you're stuck out here for the night.
In the world of outdoor education and preparedness, we often talk about the "Rule of Threes." You can survive three weeks without food, three days without water, but in harsh conditions, you might only have three hours without regulated body temperature. This is where your knowledge of survival shelter ideas moves from "interesting trivia" to "essential life skill."
Staying protected in the wild isn't about building a luxury log cabin; it's about understanding your environment and using what's at hand to create a barrier between you and the elements. Let's look at some pragmatic, effective ways to stay dry and warm.
🏕️ The Lean-To: Your Quickest Defence
If you are short on time or the weather is closing in fast, the lean-to is your best friend. It is exactly what it sounds like: a slanted roof that you lean against a horizontal support.
To build one, you'll need to find two sturdy trees roughly two to three metres apart. Find a thick, downed branch to serve as your ridge pole and wedge it between the trees (or lash it with paracord if you have some). From there, lean smaller poles against the ridge pole at a 45-degree angle.
The beauty of the lean-to is its simplicity. However, it is an open-fronted design. This means it offers excellent protection from wind and rain coming from one direction, but it won't trap much heat. In the British climate, this is a great "fair weather" shelter or one to use if you have a fire going out front to reflect heat back toward you.

🍂 The Debris Hut: The Natural Sleeping Bag
When the temperature drops and you don't have a tarp or a tent, the debris hut is the gold standard for insulation. This shelter works by trapping a pocket of air around your body, much like a sleeping bag or a duvet.
- The Spine: Find a sturdy ridge pole about three metres long. Prop one end up on a stump or a low branch (about hip height) and let the other end rest on the ground.
- The Ribs: Lean shorter branches along the length of the ridge pole to create a "ribcage" effect. You want enough branches to create a solid frame.
- The Insulation: This is the most important part. Heap leaves, ferns, moss, and pine needles over the frame. For a debris hut to actually keep you warm, the layer needs to be at least two to three feet thick.
If you're worried about the kit needed for these builds, checking out our survival gear reviews can help you decide which folding saw or knife is worth carrying in your pack.
⛺ Tarp Shelters: The Modern Prepper's Choice
At EODSurvival, we're big fans of the humble tarp. It's lightweight, packable, and incredibly versatile. If you have a tarp and some cordage, you can create a professional-grade shelter in under ten minutes.
- The A-Frame: String a line between two trees and drape the tarp over it. Stake down the four corners. If it's windy, keep the tarp low to the ground to minimise the "sail" effect. If it's warm, pitch it higher to allow for airflow.
- The Wedge: This is perfect for heavy winds. Stake two corners of the tarp directly into the ground on the windward side. Tie the opposite end to a tree or a pole. This creates a low-profile, aerodynamic shield that sheds wind and rain effortlessly.
- The Plow Point: Tie one corner of the tarp to a tree and stake the other three corners to the ground. This creates a three-sided pyramid shape that is remarkably stable.
If you are planning your emergency kit, you might want to look at our blackout checklist for ideas on what else should stay in your "go-bag" alongside that tarp.

❄️ Adapting to the Environment: Snow and Heat
Not every survival situation involves a rainy forest. Depending on where you are, your shelter needs will change drastically.
The Snow Trench
If you find yourself in a winter landscape with deep snow, don't fight it: use it. Snow is a fantastic insulator. Dig a trench in a snowbank, cover the top with branches or a tarp, and add a layer of snow back on top. Always remember to poke a small ventilation hole in the roof to prevent carbon dioxide buildup, and create a "cold well": a deeper hole near the entrance where the heaviest, coldest air can settle away from your sleeping platform.
For more on staying alive in freezing conditions, see our cold weather survival UK guide.
The Ramada
In the rare event of a blistering heatwave or if you're in a desert environment, your enemy is the sun. A ramada is a simple flat-roofed shelter designed to provide shade while allowing maximum airflow. You essentially build a four-post frame with a roof made of brush or light fabric. The goal here isn't to stay warm; it's to stop your body from dehydrating in the direct sun. For more on managing resources in these conditions, see our section on food and water.
📍 Site Selection: Don't Build Where You'll Regret It
A well-built shelter in a bad location is still a bad shelter. Before you start gathering branches, check your surroundings for the "Four W's":
- Wind: Which way is it blowing? You want your shelter's back to the wind, not the entrance.
- Water: Avoid the bottom of valleys or dried-up stream beds. A sudden heavy rain can turn your bedroom into a bathtub in minutes.
- Widowmakers: Look up. Are there dead branches or leaning trees that could fall on you during the night? If so, move.
- Wood: Is there enough fallen timber nearby to build your shelter and keep a fire going? Don't waste energy hauling logs from half a mile away.

🌡️ The Secret Ingredient: Ground Insulation
The biggest mistake people make when testing out survival shelter ideas is forgetting the ground. You will lose more body heat to the cold earth through conduction than you will to the air.
Never sleep directly on the ground. Create a "bed" of at least six inches of compressed dry material: pine boughs, dry leaves, or even an old foam mat if you have one. This barrier is what actually keeps you alive during a cold night. If you want to learn more about the physical toll of exposure, our medical and safety guides cover the basics of identifying hypothermia.
🛠️ Essential Skills for the Field
Building a shelter is a physical task, but it's also a mental one. You need to stay calm and work efficiently. We always recommend practicing these builds in a controlled environment — like your back garden or a local woodland (with permission) — before you actually need them.
Taking a course in survival training is a great way to get hands-on experience under the guidance of experts. It's one thing to read about a debris hut; it's another thing entirely to spend three hours piling leaves in the rain!

📝 Survival Shelter Checklist
Before the sun goes down, make sure you've ticked these off:
🌲 Stay Prepared, Stay Confident
Survival isn't about gadgets or being a "tough guy"; it's about having a toolkit of practical skills that you can rely on when things go sideways. Knowing a few reliable survival shelter ideas gives you the confidence to enjoy the outdoors, knowing that even if the weather turns or you get lost, you have the means to stay protected.
Nature is indifferent to your plans, but with a bit of common sense and the right techniques, you can turn a potential crisis into just another night under the stars.
Ready to level up your preparedness? You can download our guides for more in-depth tutorials on everything from knots to emergency kits. Stay safe out there.
Related Articles
Master shelter building for UK woodland, moorland, and urban environments.
Master the survival mindset and practical priorities that could save your life.
Build a modular, durable bushcraft camping kit for UK and EU wilderness.
Essential cold weather survival strategies for UK conditions.
Frequently Asked Questions
What is the quickest survival shelter to build?
The lean-to is the quickest. It requires just two trees, a ridge pole, and smaller branches leaned at 45 degrees. It can be built in under 30 minutes.
How thick should debris insulation be?
For a debris hut to keep you warm, the insulation layer needs to be at least two to three feet thick. If light can get through, water will too.
Why is ground insulation important?
You lose more body heat to the cold earth through conduction than to the air. Never sleep directly on the ground — use at least 15cm (6 inches) of dry material.
Want More Survival Training?
Explore our complete collection of survival guides and preparedness resources
View All Training Guides